Like most gardeners with clay soil, I need a lot of help amending my soil. Unfortunately, covering my garden plot with enough peat moss, manure or vermiculite to make a difference is beyond my budget.
Fortunately, nature has provided another soil improvement system for us “budget-conscious” gardeners—composting. When I was a kid, my parents planted a big garden every summer, and we always had a compost pile. Back then, I wasn’t exactly a fan of compost, especially when it was my turn to carry all the kitchen waste to the compost pile. Eeyew!
Today, however, I’m thrilled that I can recycle all those veggie peelings, coffee grounds and egg shells, improving my soil in the process. But a good compost pile needs more than kitchen scraps to amend the soil.
If you’d like to improve your soil, too, here’s the dirt on how to build a compost pile. To get started, you just need to understand four basic compost principles.
 1 – Ingredients. In order to decompose, the microbes in your compost pile need a good combination of nitrogen, which comes from “green” items like vegetable clippings and lawn trimmings, and carbon, which comes from “brown” items like shredded paper, hay or straw.
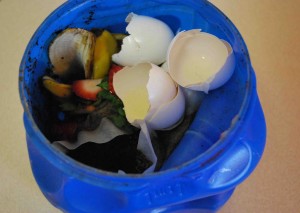
To get my “green” items, I keep an old coffee can with a lid under my kitchen sink. Every time I peel veggies or find an apple core, it goes in the can. (Depending on how often you empty the can, you will definitely want to keep the lid on it!) I also add tea bags and coffee grounds—filters or bags included.
A quick word about what not to add: anything with butter or grease. Also, no meat or anything else that has been cooked. Your compost pile is not the place to throw your leftovers. We’re looking for organic matter only, here, or your compost pile will attract rodents. Not good.
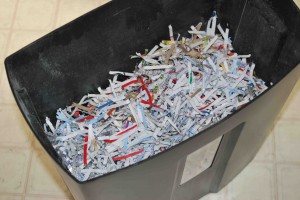
 For “brown” items, look no farther than your paper recycling bin. I add cardboard boxes, cardboard egg cartons, and all our shredded paper to the compost pile every time I empty out my coffee can of kitchen scraps. This leads us to the next compost principle: layering.
2 – Layering. A good compost pile comes in layers. Some compost experts suggest a balanced combination of “green” and “brown” items, while others recommend doubling your “brown” layer for every “green” layer you add. I usually don’t get too scientific about it. When I have a green or brown item to add, in it goes! The important thing to remember is to keep adding both green and brown to the pile.
3 – Turning. While these compost layers will eventually decompose on their own, you can speed the process along by turning the layers regularly. Turning provides the microorganisms with the oxygen they need to do their jobs quickly.

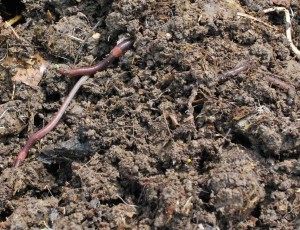
Worms are a compost pile’s best friend. They wiggle through the green and brown layers, creating air pockets and leaving their own “compost” behind them.
4 – Location. Finally, a word about location. Ideally, you should establish your compost pile in a spot that gets a fair amount of sun (for warmth) and rain (which will keep the compost moist). Note: you don’t want the pile to get dripping wet, so if you’re in an area that gets a lot of rain, place your compost under an awning or tarp. Not enough rain? Consider spraying the pile with a gentle mist about once a week.
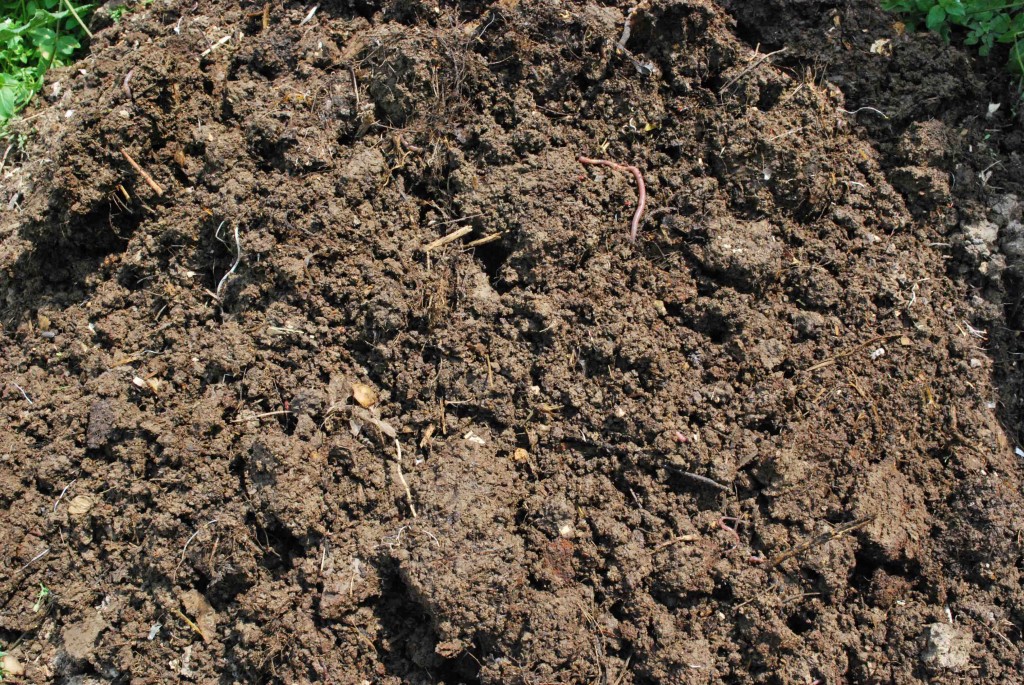
With proper ingredients, layers, turning and location, your compost should be ready to add to the garden within a few months. The finished product will look dark brown with no recognizable ingredients and be free of any smell.


